I recently rediscovered on old pair of white shoes from my closet. It was a pair that I used for hospital duty several years ago and have never been used since. I do remember planning to have it dyed into a different color before but because the pair had been shoved at the farthest and highest level of our shoe closet I completely forgot about it.
 |
| still brand new -- taken several years ago when I still dilligently participated in Project 365 |
Understandably, I found it looking a little beat up. So finally, I took it to Mr. Quicky and had it dyed. I chose to have it done in navy (after much deliberation). Also, I wanted to leave the tongue part of the shoe in its original white color -- kind of like a pair I had in the 90's. I didn't however trust the manong to do the job accordingly so chose to have it colored all over instead.
Bad call.

It ended up like an over used gradeschool shoe -- but in purple. Yep, apparently the navy colored swatch they showed me didn't exactly match the "navy" dye they used. I could live with the purple color but what I wasn't happy about was how "school girlish" "schoolmarmish" it looked.
I have seen several tutorials on how to cover shoes with fabric and have toyed with the idea but always chickened out. This was the perfect opportunity to try it out!
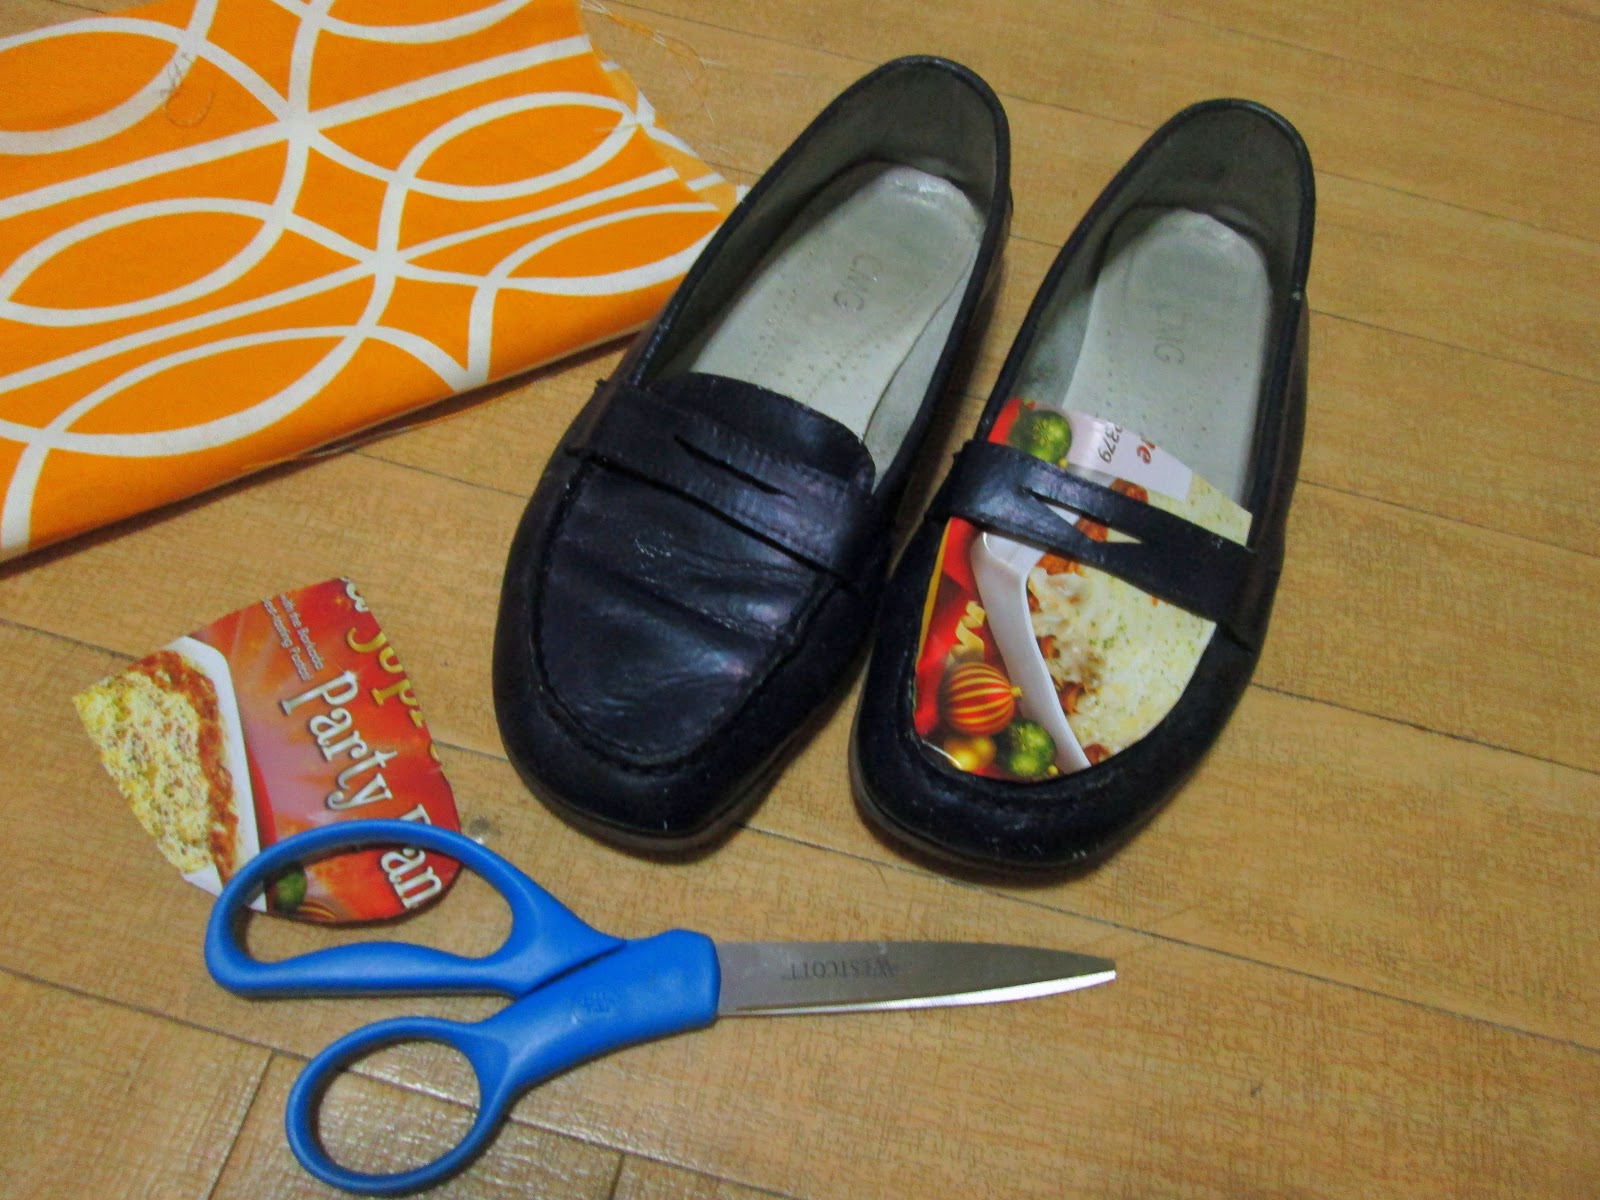
Materials needed:
scratch paper
pencil
scissors
glue
fabric
Step 1: Use pencil and scratch paper to trace the "tongue: part of the shoe to make a pattern
Step 2: Use the pattern to outline the underside of the fabric.
Make sure to lay the pattern on the center if your fabric has any form of print on it.
Step 3: Cut fabric.
Step 4: Wipe shoe with a dry cloth to make sure it is clean.
Then check how the fabric fits over the shoe.

Step 5: Apply a layer of glue over the shoe (I used Elmer's glue) and lay fabric over.
Step 6: Apply another layer of glue over the fabric and let it dry

Fancy, eh?
No comments:
Post a Comment