Showing posts with label baking. Show all posts

Tuesday, June 11, 2013

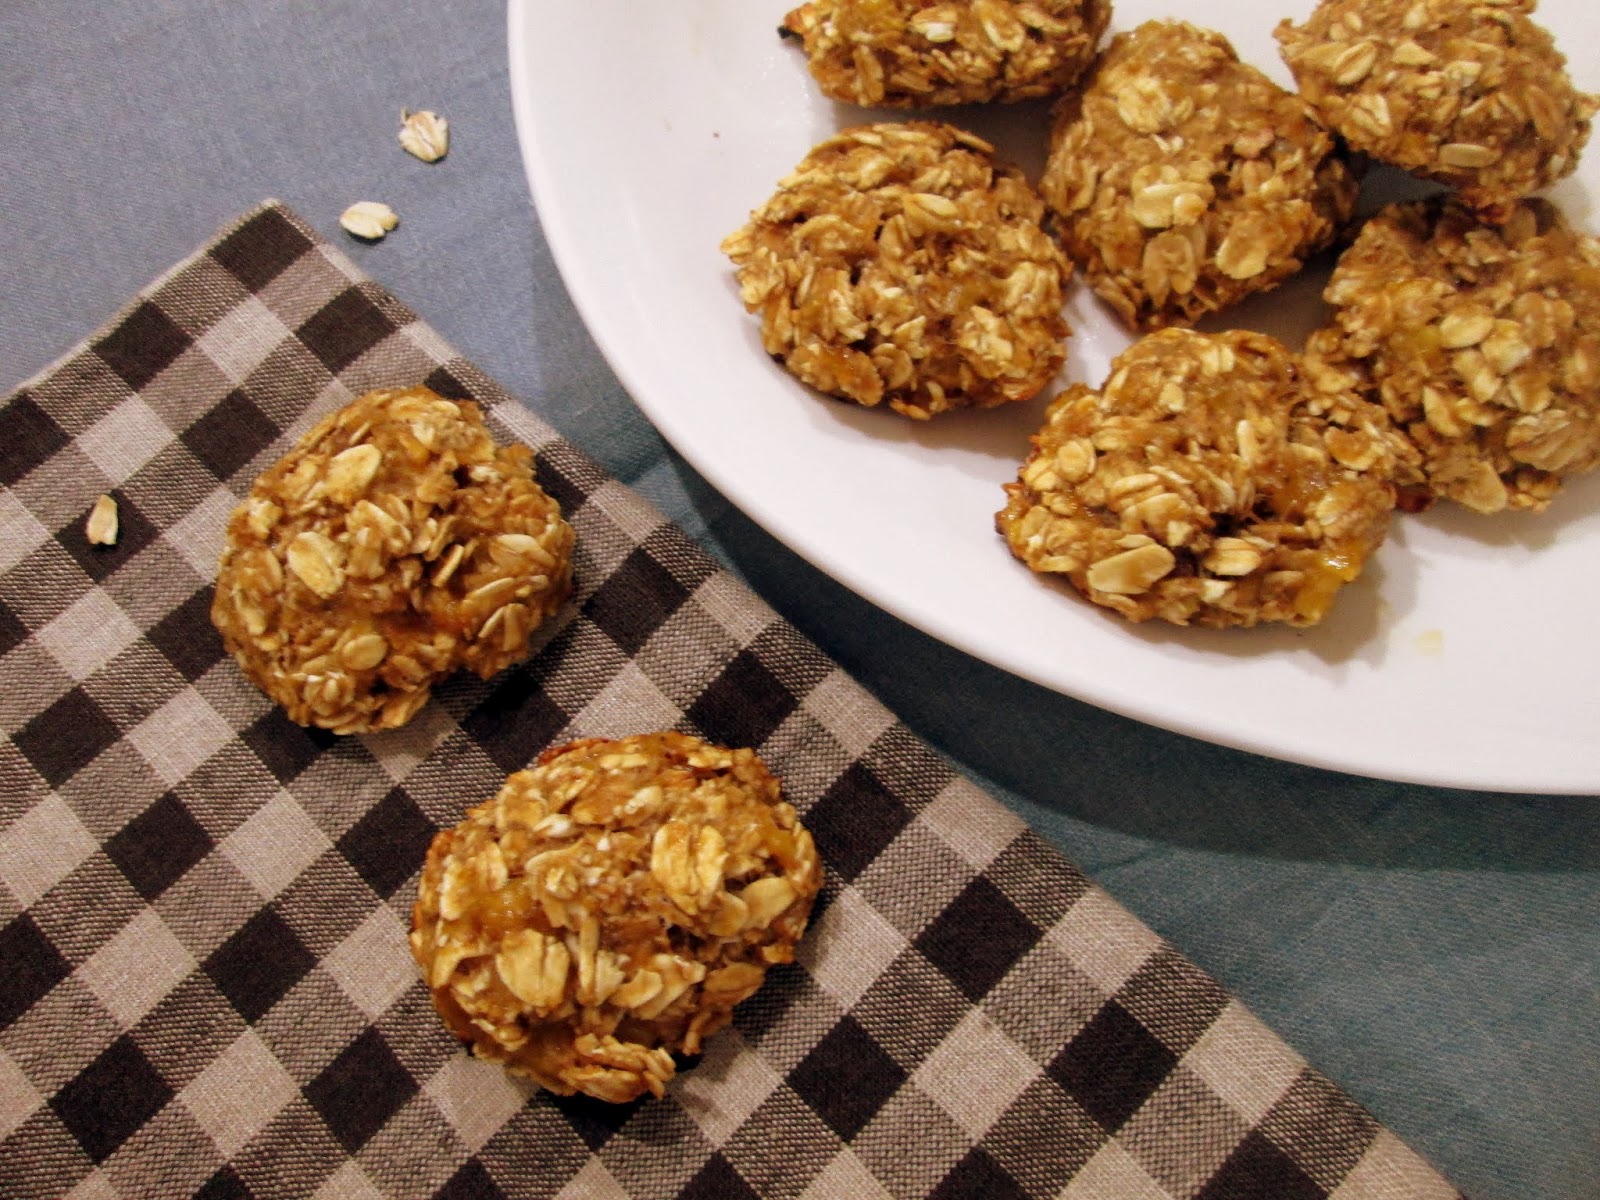
Healthy Oatmeal Banana Cookies

It is quite a struggle for me to keep my son from eating unhealthy foods. You may already know that yogurt had been his favorite snack for a while until the time he suddenly developed an unliking (is this a valid word?) or distaste for it. Little did I know that his preference had shifted towards ice-cream that his Lolo had been giving him behind my back! I could also only watch in horror (alright, I'm exaggerating a bit here) as my in-laws handed over a box of Krispy Kreme to Alonzo as pasalubong.
 
That's why I was more than delighted to have discovered this recipe.  I tweaked it a bit so that it requires only 2 ingredients: quick cooling oatmeal and bananas. Yup, that's it! The original recipe used 2 medium bananas. What we had available were bananas of the Lakatan variety that were on the small-ish side, so I used 4 pieces instead. 
 
 
Procedure:
Mash bananas and combine with 1 cup oats.
Drop 1 tbsp of the mixture on to a greased cookie sheet and place in a pre-heated 350 degree oven for 15 minutes. 
 

Enjoy!

Sunday, June 17, 2012

DIY Cookie Cutter Mold

How could it be Father's Day today? Already???
Isn't it supposed to be sometime in July?
Anyway, I thought of baking mustache-shaped sugar cookies but couldn't find any mustache-shaped cutters.


I experimented and tried to mold an old llanera and an empty oval sardine can into shape. It was a little difficult as both materials were not very malleable (geez, the last time I used this term was in high school!).

I found an old foil pan works best for this.


Here's a step by step guide on how to make your own cookie cutter molds.

Step 1: Draw pattern


Step 2: Cut off insides of foil pan
(you may use either the insides or the sides of the pan)


Step 3: Fold the foil in half to make it sturdier

 
WARNING: Wear protective gloves!
I was too lazy to look for hubby's work gloves. I learned the hard way and ended with 2 band aids on each thumb after this project.

Step 4: With your hands mold the foil into shape by following the drawn pattern 

If you have undergone post-graduate training in orthodontics you may have developed the patience dealing with a lot of wire bending and manipulation. Hahaha! This step takes a bit of patience but there's no need to get all OC about making it "perfect". Take a deep breath and keep in mind that you're making this only to make COOKIES!


Your cookie mold is all done and now you're ready to bake!


Happy Father's day to all dads out there!

Thursday, June 7, 2012

Coconut Macaroon

It was during my college days when I did a lot of baking and it was then that I found the perfect coconut macaroon recipe. I want my macaroons not too sweet, slightly toasted and with a bit of crunch on the outside but soft in the inside -- with the kind of consistency that sticks to your teeth. Unfortunately I lost the recipe! I remember that I used freshly grated coconut after all the juice (or milk) have been squeezed out. I tried out too many recipes in an effort to find one that resembles my old lost recipe. Unfortunately again, all my efforts have been futile. Some turned out too runny while others came out too dry that it literally resembled bocayo.

I have been craving for macaroons the other day and decided to make a batch utilizing the recipe printed at the back of a Rams' desiccated coconut package (gasp). Okay, being the peevish or disagreeable person that I tend to be at times I had to make a couple of tweaks here and there.  

Ingredients:
2 1/2 cups desiccated coconut
300g can condensed milk
2 eggs (the original recipe calls for 4 eggs)
1 tsp vanilla extract
1/2 cup butter
I omitted the 1 cup of sugar required in the recipe but instead added a handful of white chocolate ships and 1/2 cup grated cheese!

Procedure:
Mix every thing together and pour on to mini muffin pans. Top each macaroon with a little more white chocolate chips and grated cheese. Bake for around 30 minutes.

I've got to tell you the cheese makes a great contrast to the sweetness of the milk and white chocolate. The chocolate on the other hand gives it a chewy texture. Hubby and mother-in-law (who acted as willing guinea pigs) loved it. Although this does not quite compare to my original recipe, it does seem promising and is worth keeping.  

Monday, December 19, 2011

Carrot Cake and Cream Cheese Frosting


I started baking during college and of all the cookie and cake recipes that I tried this is the one that I
still continue to bake after all these years. 

This recipe is from a Better Homes and Gardens magazine
issued almost 15 years ago.
I kept the copy but lost it during the Ondoy flood.
Good thing I wrote the recipe down! 

I am reminded of the time when I made this cake for hubby's
(then boyfriend) mom for her birthday. 
When I turned the baked cake over from the pan
the whole thing crumbled!
Apparently, I forgot to add the eggs to the batter.
We planned on surprising her with a birthday cake and in panic I frantically suggested that we rush to the nearest bake shop
and just splatter a store-bought carrot cake
(her favorite cake flavor)
with the cream cheese frosting that we already made! 
"Huminahon ka!" ("Get a grip!"), Hon said, as he munched on the disastrous carrot cake off the plate.
 When I was able to pull myself together I realized
that we still had enough ingredients to make another batch
but had less than 30 minutes until my then future mom-in-law gets home. Anyway, to make a long story short, 
the planned surprise didn't turn out as a "real" surprise after all 
(it was still baking in the oven when she got home) 
but the cake made it just in time for dessert and
it tasted just as good.

Ingredients:
2 cups sugar
1 1/2 cups corn oil
4 eggs
2 cups flour
2 tsp baking powder
2 tsp baking soda
1 tsp salt
1 tsp pumpkin pie spice
3 cups grated carrots
1/2 cups raisins or prunes
3/4 cups chopped pecan
1/4 cup crushed pineapple (drained)
cream cheese frosting*

Procedure:
Place sugar and oil in bowl of electric mier and mix together in slow speed.
Add eggs one at a time; beating well before each addition. Set aside.
sift together flour, baking soda, baking powder, salt and spice.
Add the sugar miture all together and roughly combine.
Stir in carrots, raisins and 1/2 cup pecan and pineapple.
Lightly oil an flour two 9'' pans.
Pour batter into pans and bake in pre-heated 350 F oven for 35-40 minutes or until cake springs back when pressed lightly.

*Cream Cheese Frosting
1/2 cup butter (unsalted at room temperature)
1 pound cream cheese (room temperature)
4 cups powdered sugar
2 tsp vanilla

Place butter and cheese in bowl and cream on low speed until blended.
Add sugar and vanilla gradually until smooth.
Makes 4 cups

Note: I usually don't use this much sugar in this recipe. 2 cups is already sweet enough for me!


Wednesday, September 7, 2011

pastel de pollo

if you ask me to name 3 dishes that i could have everyday for the rest of my life, chicken pastel will definitely be one of them. i just love it! for special occasions we make it with the crust although as a regular, everyday meal the crust is ommited. it was just one of those "regular" days last sunday but i felt like going the distance a bit and made a crust. i even made a miniature one for my little boy! 

ingredients:
chicken breast fillet, cut into chunks
chorizo de bilbao
1/2 cup butter
onion, chopped
garlic, crushed
carrot, cubed
potato, cubed
mushrooms, chopped
sausage, cubed
olives
1 cup evaporated milk
chicken or beef broth
cheese, grated
salt and pepper

procedure:
brown garlic in butter
add onions chicken and chorizo, cook for about 2-3 minutes
add carrots and potatoes. let them brown a little
add some broth, cover and simmer
add mushrooms, sausage and olives
stir in milk, remaining broth and cheese
when chicken and vegetables are cooked transfer onto baking dish
cover with crust*

*crust
ingredients:
2 cups flour, sifted
1/2 cup butter
1/2 tsp salt
1 tsp sugar
water

procedure:
add salt and sugar to flour
cut in shortening using 2 knives
gradually add water
mix with hand but do not knead
roll on a well floured board
fit to top of prepared pastel
brush with beaten egg or milk
bake at 350 degrees F until golden

Friday, August 19, 2011

cream puffs

these little nuggets of sweet, yummy goodness may seem intimidating to make to a novice baker. i was almost half execting failure the first time i made these but was pleasantly surprised (and, if i may say so, quite impressed at myself) at how easy it is to make. it's been more than 15 years since the first time i tried this recipe* and can't count how many batches i have made since but i still can't help get excited each time i watch how the batter puffs to form delicate, heavenly clouds of flour, eggs and butter.

ingredients:
cream puff pastry
1 cup water
1/2 cup butter
1 cup all purpose flour
4 eggs

pre-heat oven to 400 degrees
heat water and butter to a rolling boil in a saucepan
add flour all at once and stir vigorously over low heat to form a ball
remove from heat
beat in eggs one at a time
drop batter from a spoon onto ungreased baing sheet into mounds 3 inches apart
bake for 45-50 minutes or until puffed and golden brown
split cream puffs and fill with cream filling
drizzle with caramelied sugar (or nuttela!)

cream filling
1/2 cup sugar
1/3 cup all purpose flour
1/2 tsp salt
2 cups milk
2 egg yolks, beaten
1 tsp vanilla

mix sugar, flour and salt in saucepan
blend in milk
cook over medium heat, stirring until it boils
remove from heat and stir in half of cream mixture into egg yolks
pour back in saucepan and stir
bring to boil
lower heat and stir for 10 minutes or until mixture coats spoon
cool, add vanilla and fill puffs

*Let's Cook with Nora by Nora Daza; 1969

Wednesday, June 29, 2011

Pistachio Cake

When hubby and I were in the US a few years ago we had a chance to have had several hands-on cooking lessons from relatives living there. Ate Anding showed us how to make hers and Lola Titay's beef empanada (an heirloom recipe!) while Tita Agnes shared her famous pistachio cake recipe.


I wish Tita Agnes were here....she would be proud!