Showing posts with label mom stuff. Show all posts

Sunday, October 26, 2014

Alonzo's 2014 Halloween Costume

Hello, everyone! I know it's been a while. The past semester has been really tough and hectic. Needless to say, I missed crafting and blogging about my crafts. Don't get me wrong. I've still been into crafting small projects here and there. Nothing major.
 
All set for trick or treat!
But Halloween is a different story. Alonzo looks forward to his yearly trick or treat activity (the only time of the year he is allowed to eat candy!) while I also find the holiday as an excuse to prioritize crafting over work. Semester-enders can be quite busy for professors (final exams, grade submission, etc.) But how can I pass on one of my favorite holidays (and Alonzo's, too!) for some crafting
 
I started working on Alonzo's costume 3 weeks ago. He's been so much into his Lego toys lately that to dress him as a Lego man seemed so spot on. I had my hesitations, however. His past Halloween costumes have all been so fuss-free and easy to put together and wear. We never had problems about him refusing to wear his costume at the last minute or anything like that at all. But, as I said, he is so crazy about Lego that he is truly excited about his costume!  
 
Believe it or not, this year's costume is probably the most hassle-free of all (alright, probably because I had a 3 week head start) and it didn't cost me a thing! All the materials are recycled or made out of stuff we already had in the house.  
 
The first thing that I worked on was the "body". This is made of an electric fan box which I cut and re-structured to form a trapezoid. The dimensions were measured and cut according to Alonzo's size (shoulder width, neck and arm hole circumference, etc.). I spray painted the outer surface and left it to dry over night. A computer printed Lego logo on sticker paper gives it a more distinct look.   


As for the Lego hair, the technique was the same as for creating Alonzo's  paper mache egg. I just made sure that the balloon used is slightly larger than the widest circumference of Alonzo's head. After it has completely set, pop the balloon and cut to resemble a Lego snap-on hair. I made a couple of zig zag cuts to create fringed bangs. We didn't have black paint around so I used gray spray paint instead. This turned out to be a better idea because it allowed me to draw "hair waves" with a black marker pen. 


To top off the look, I made his treat bag to resemble an over-sized Lego block. I took on empty medium-sized box and spray painted it with red and glued soda bottle caps. I also punched holes on each side to tie strings for the handle.  


 Voila!


Alonzo giving me his "orc face" expression when I asked him to smile for the photo

Friday, June 13, 2014

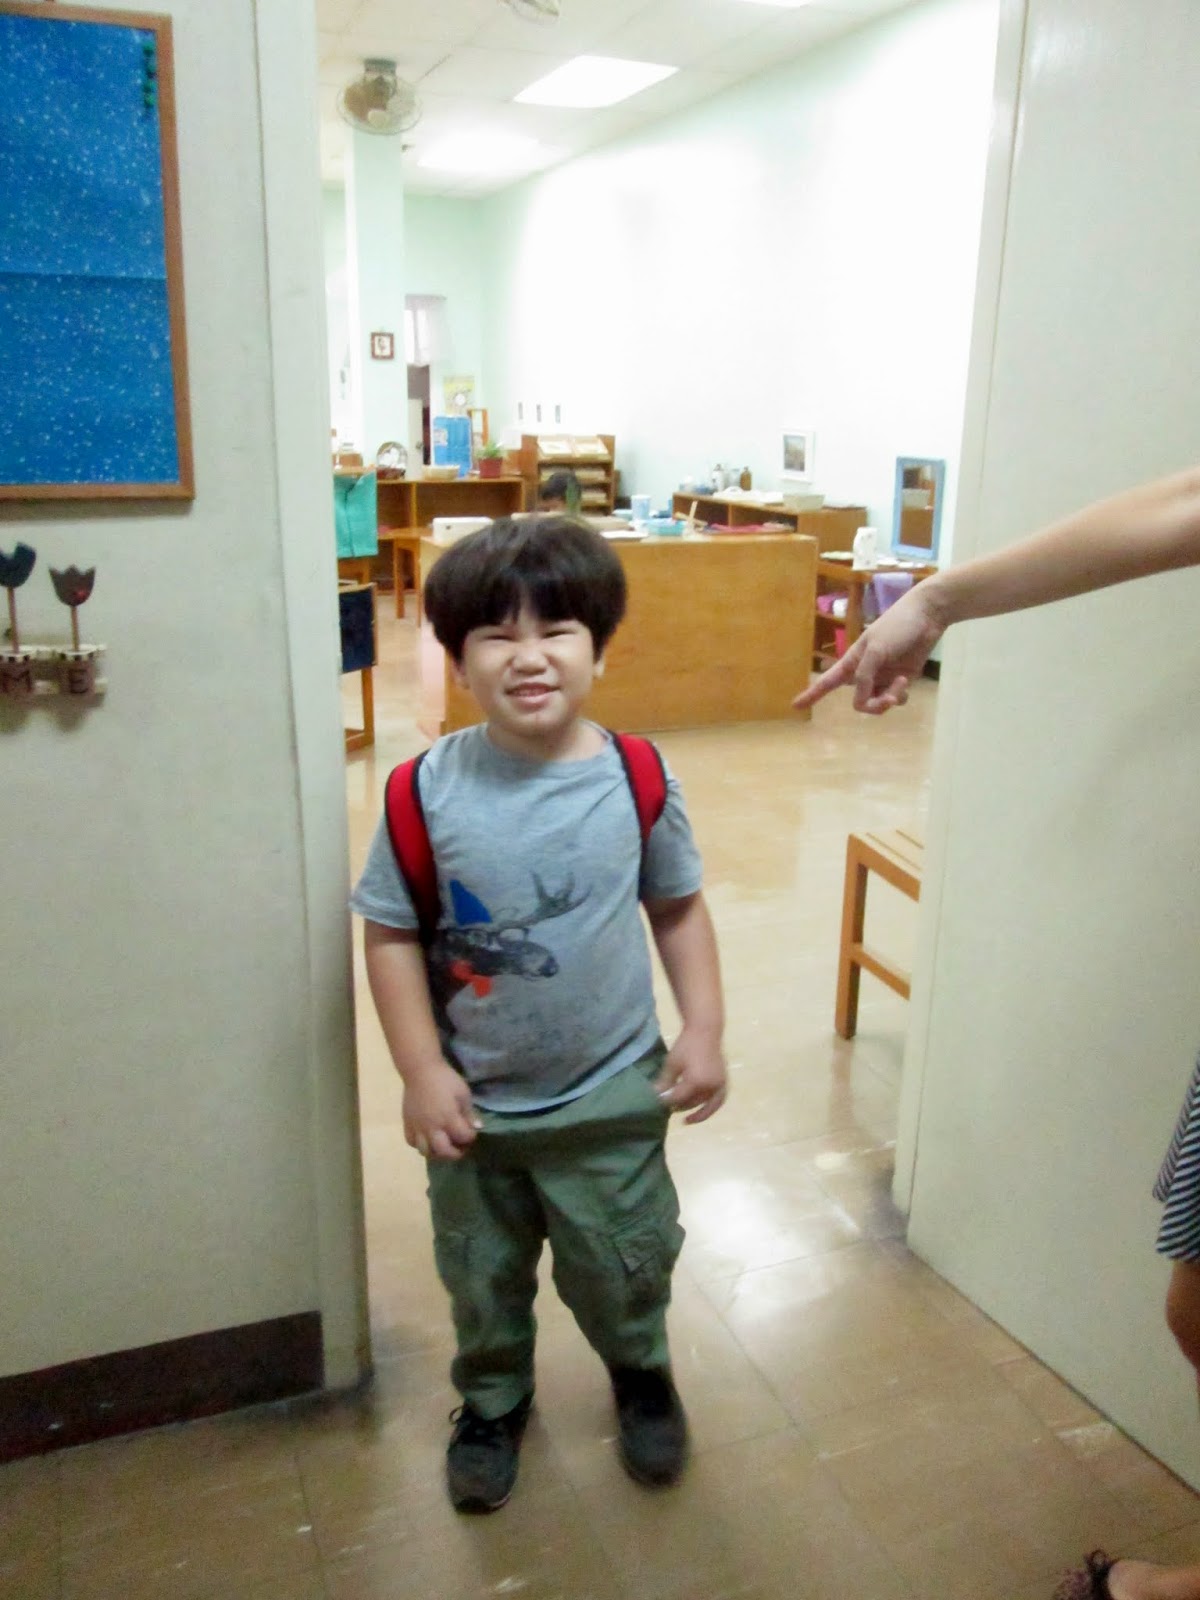
Alonzo's Fist Day at School


It's official. Alonzo is now a school boy! Unlike when he started daycare at playhouse last year, I didn't feel apprehensive at all about him getting anxious being left in school. 
 

Of course, we had to do the 1st day of school photo-op tradition!

  
 Here's my little preschooler -- smiling and excited -- just before entering his new classroom. 


Speaking of traditions here's another one that I intend to follow through. Thanks to Pinterest for giving me the idea of asking Alonzo's playhouse nurturers to write messages for him on a favorite story book. After each school level I will be asking his teachers to do the same thing.


All of these (books, messages, first day of school photos) will be compiled and presented to him on his college graduation day. It's a looooong way from that but I really love this idea! 


Reading all those messages made me miss Alonzo's playhouse days. He joined playhouse at age 1 year and 4 months. We began with the one-day per week, parent-child program until last year when he started the 3-day, half-day, day care program.  Alonzo has come a long way and it's time to move on. 

Tuesday, May 20, 2014

Questions from a 4 Year Old

While counting his dominoes

Alonzo: 1,2,3,....10,11,12,13....19,20,...27,28,29.......(long pause, as if he was thinking really hard) Mama, why isn't there a twenty-ten?

Friday, May 9, 2014

Pink Lemonade

It was a big surprise to know that hubby hasn't heard of how the juice of boiled kamote leaves will turn pink when calamansi juice is added to it. My sisters and I had this kind of juice all the time as kids. I also remember a segment about this in Batibot with Ate Sienna (okay, this kind of gives off my age -- if you don't know who ate Sienna is or if you don't know what Batibot is I'd be a little hurt).  Also, we often use those 2 ingredients together in sinigang and now I wonder why hubby hasn't bothered to ask why our sinigang soup is pink. My recent post on "sophisticated" ice-candy flavors also kind of got the attention of some of the faculty members at work. They were quite intrigued. Hmm... I assumed all along that everybody knows how to make "pink lemonade".   

Alonzo loved the calamansi and basil flavored ice candy that I made. To be honest, he didn't care much about the 2 other flavors (he didn't like the ginger taste with the pineapple, while the chopped mint leaves with the mango and cucumber kind of threw him off). Anyway, here's a simple step by step tutorial on how to make pink "lemonade".


Step 1: Boil a few kamote leaves in water


Step 2: Squeeze the juice of calamansi


Step 3: Pour kamote juice on to a pitcher and add cold water
Step 4: Add calamansi juice (watch closely as the liquid transforms into a lovely pink color)   
 

 (I took a video of this but it is taking forever to upload!)

Step 5: Sweeten with honey or sugar


Step 6: Add ice


 Enjoy!

Friday, May 2, 2014

Sophisticated Ice Candy

Now that summer’s heat is in full swing cool down with a favorite and classic Filipino treat -- ice candy! The addition of herbs and yes, even some veggies gives more depth and a sophisticated twist to the fruity flavors. Here are 3 unique and refreshing flavors that you won’t find at your neighbors ice candy stand. 


Pink calamansi and basil ice candy
Step 1: Make a basic sugar syrup by combining 1/3 cup sugar and 1 cup water in a saucepan over medium heat. Flavor syrup with a few basil leaves. Spoon out the basil leaves. Set aside and let it cool.

Step 2: Boil 3 cups water with about a handful of camote tops (talbos ng kamote). Set aside and let it cool.
Step 3: Squeeze out the juice of 20 calamansi. Strain into a pitcher.

Step 4: Pour cooled camote tops-infused water on to pitcher with calamansi (the liquid will turn pink!) and sweeten with syrup.
Step 5: With a funnel pour into ice candy plastic bags and freeze overnight.

Mango, mint and cucumber ice candy
Step 1: Peel, seed and cut 2 medium cucumbers into chunks. .

Step 2: Scoop out the flesh of 2 medium ripe mangoes.

Step 3: Place mangoes and cucumbers together in a blender. Add ¼ cup of fresh mint leaves and 3 cups mango juice.

Step 4: Blend to desired consistency and pour mixture into a pitcher.
Step 5: With a funnel pour into ice candy plastic bags and freeze overnight.

Spiced pineapple and lemongrass ice candy
Step 1: Combine 1 cup water, 1/3 cup sugar, 3-5 sprigs of lemongrass and about a thumb size piece of peeled ginger in a saucepan over medium heat. Turn off heat when it slightly thickens into a syrup. Set aside and let it cool.

Step 2: Pour 3 cups of unsweetened pineapple juice into a pitcher and add syrup.

Step 3: With a funnel pour into ice candy plastic bags and freeze overnight.


Enjoy!

Sunday, April 27, 2014

DIY Street Chalk

Imagine all the empty eggshells leftover after Easter egg hunting. Keep them all next time! Here’s a fun, creative and eco-friendly way to recycle them. You can create street chalk out of eggshells.  These chalks are good to draw on concrete, asphalt and stones. Use them to draw patterns for playing piko, patintero, tic-tac-toe and for creating your own sidewalk art.


Materials needed:
12 eggshells
6 teaspoons flour
Warm water
Food color
Mortar and pestle
Moulds such as ice cube trays, cookie cutters, polvoron shaper

Step 1: Wash and dry the eggshells. Peel off the inner membrane.
 

Step 2: Use a mortar and pestle to grind eggshells into fine powder. Transfer into a bowl.


Step 3: Add flour and water to form a very thick paste.
Step 4: Divide mixture into separate containers and add drops of food color on each container. Mix well until the color is evenly distributed.


Step 5: Roll to form cylinders or place eggshell mixture into moulds. Place on a flat surface and let them dry for 2 days. 


Note:A dozen eggshells will yield about 10 discs.

Sunday, April 6, 2014

Finally!


Two semester down (and more to go!) I've been filled to the brim with all the things I had to do in grad school. Yesterday, I gladly submitted the last requirement - a take home final exam - for the semester. It's been a while since I had the feeling of relief and freedom after (successfully?) accomplishing all school requirements of the semester. I decided not to enroll and take a break from grad school this summer but I'll be teaching summer classes in the undergrad. That leaves me a whole week to recover and replenish my energy as summer classes  already start next week. I have a lot of serious crafting in mind and can't wait to get started!     

Wednesday, March 26, 2014

Repurposing My Old Belly Belt


If you are pregnant or have ever been pregnant you probably know what this is. Lately, I've been using my old belly belt to extend the usage of Alonzo's pants. He has outgrown most of his pants in all dimensions but there are pieces that are still usable with a little help from this genius piece of garter and a couple of buttons. 

Wednesday, March 5, 2014

Alonzo's 4th Birthday Party


As you may already know, small, intimate and simple parties are really my kind of thing. For Alonzo's birthday last year all he wanted were purple balloons and had a purple-themed birthday party. For this year, he just asked for cake (chocolate with lots of colors on top). Red ribbon's chocolate dedication birthday cake fits the bill. We also thought of hosting a small get-together with family and a few of his neighborhood friends.


I was kind of going for a street food theme and served fishballs and kwek-kwek. To make it more filling, we also had some tacos, baked mac and (our new crowd-pleaser) chicken lollipops.


By the way, Hubby has a recipe for sweet fishballs  sauce. I justthink it needs a little tweaking and we might have to come up with the exact measurements of the ingredients. We'll share the recipe once we've "perfected" it.   
 

Anyway, we provided a variety of sauces for guests to choose from. A small area was also set up for the samalamig station.


Now, there's the birthday boy! It's hard to believe that he is already 4. 


Here are more pictures from the party.


Please visit Yahoo! She for my post on how to host a street food themed party.

Tuesday, March 4, 2014

Alonzo's Favorite List

Aside from the birthday balloon cascade tradition that we started last year we also started the tradition of interviewing Alonzo, asking him about his favorites...favorite food, song, book, etc..and see how his lists change over the years.   


Some of his favorites, such as his favorite food changes depending on the day of the week or even the time of the day...sometimes he'll say pesto, sometimes he'll answer cupcakes or inihaw na pork.  But I write down whatever he answers on the day of his actual birthday.

As I was interviewing him about what his favorite color (which has consistently been purple), he asked, almost accusingly, "Mama, you don't know?"

Saturday, February 22, 2014

Alonzo's Birthday Balloon Surprise Tradition

Last year, we started a new tradition of having a cascade of balloons for Alonzo on the day of his birthday. Pumping balloons and stuffing them between the door and a sheet of plastic taped around the door frame is, as we eventually realized, not as easy as it seems. Things would be different though had Alonzo slept in a separate room.
 
different method...
So, this year I thought of simply hanging the balloons to allow us access in and out of the room while the birthday boy is blissfully asleep.  

...same happy result as last year!

Happy birthday, Alonzo! We love you so much!

Wednesday, October 30, 2013

Halloween 2013

 
Here's how we dressed Alonzo for this year's trick or treat -- as an SM hypermart bagger boy!
 
 
We scoured the malls for a plain, collared, neon green shirt but couldn't find one that fit the budget. We were about to settle for a branded one but luckily hubby found this shirt from Divisoria. I then attached the SM logo which was printed on sticker paper. The "sash" is a recycled strip of tarpaulin which I turned over and had sticker paper attached as well. 
  
We got him a "grocery basket" from Japan Home to finish the bagger boy look. Also, this cleverly served as his candy bucket!
 
Employee of the Month

 Happy to serve!

Happy Halloween!!!


Sunday, October 27, 2013

Pumpkin Head Paper Mache

About two weeks ago the neighbors have started decorating their homes for our village's trick or treat and for the first time Alonzo got all interested in Halloween. I thought this would be a good opportunity to get him involved in some of my craft projects.   

 
This Halloween project is courtesy of my good, old friend, Martha Stewart (ehem). I have had (thanks to Ondoy) a copy of one of her Halloween edition Living magazine (I had it since college!) and this paper mache pumpkin is one that I really love. The instructions are basically the same as steps 1 to 2 used for the Easter eggshell hats which I did before. Use orange papel de Hapon to save you the extra step of having to paint them.  
 
 
Cut a piece of green paper to form the stem and with a sharp knife cut out the mouth and other details.


Sunday, September 22, 2013

DIY Refrigerator Make-Over

Trust me, I never thought I'd ever consider giving our refrigerator (or anyone else's for that matter) a make over. Call it a spur of the moment thing. You know that split second what your mind kind of drifts off to an abyss of nothingness then suddenly a realization hits.
 
 
That's exactly what happened one late night as I was halfway through a reaction paper for my research class the next day. It's not like I tore the refrigerator door off and replaced it with paper mache (hahaha!). However, the inspiration came so suddenly and it is quite an unusual idea to give your refrigerator an unplanned facelift so it is pretty understandable that hubby had the surprise of his life to find our plain, gray unit the next day all dotted up! 

  
The dots are actually only label stickers that I had left over from last Christmas and it would be easy to take off when I have to. I'm really loving how whimsical and playful our refrigerator turned out (it never fails to make me smile when I'm in the kitchen) and have no plans of peeling them off anytime soon!