Although I has been a while since I used gift wrappers, gift-giving time we still end up with heaps of left over wrapping paper. Check out Yahoo! She for ways on how to reuse them.
thoughts, tales, tips and tricks of a wife, pseudo stay-at-home mom, arts and crafts enthusiast, dog lover and a martha stewart wannabe
Showing posts with label christmas. Show all posts
Monday, December 30, 2013
Friday, December 27, 2013
Repurposed Everyday Stuff for Storing Holiday Decor
I have to admit that we have not yet taken our Christmas lights down since the year before Alonzo was born. The old Christmas cards that I so enthusiastically framed on to our photo divider have even been there for far longer than that (gasp!). Last year's appreciation wreath (a tradition that I started three years ago) have also been on display the entire year, albeit unintentionally at first (will talk about that some other time).
Anyway, here's something that could help you guys pack and store your Christmas decor. Check out Yahoo! She.
Sunday, December 22, 2013
Gift Wrapping with Brown Paper Bags (again)
Brown paper bags are probably one of the easiest ways to wrap gifts. And, just like pattern paper it can potentially bring out the artsy, creative side in anyone. (Check out last year's gift wrapping craze).
You
could be minimal by simply securing the seam with washi tape or you
could go to the extreme by adding whatever embellishment you have at
hand.
We have accumulated quite a number of brown paper bags this year.
I actually tried to save all the plain ones and reuse them to wrap presents for the holidays.
Peace. Joy. Love. Hope.
Have a blessed Christmas, everyone!
Friday, December 13, 2013
Cornstarch Clay Ornaments
I made a lot of salt dough crafts in grade school. I remember how excited I got when I read a tutorial about it in a craft magazine at our school library. The recipe required some baking but at that time using the oven was out of the question -- it must have been either because I wasn't yet allowed to use it or I must have presumed our oven wasn't working because nobody ever used it at all. Anyway, I was absolutely thrilled to know that I could just leave the dough out under the sun to dry.
For my first project, I molded the dough into whatever odd shape I could think of (I remember I made a pair of little tsinelas) but a light bulb moment came and I realized that I could use the dough to make mini picture frames. Trust me, I made a lot of dough frames! Hmmm...I just might make a couple of dough frames one of these days for old times sake.
I am, however, now more drawn to use cornstarch instead of flour. I searched the internet for a flour recipe and discovered that cornstarch could actually give better results. By the way, these dough ornaments are for my son's friends from playhouse.
I used a star-shaped cookie cutter at first but realized that the tips might be too sharp and "pointy" for the little kids. I also realized that rolling it out into small balls and flattening them down with my hand was a lot easier for me than having to use a rolling pin for the entire batch of dough.
Here's the recipe for cornstarch clay recipe:
1/2 cup cornstarch
1 cup baking soda
1 1/8 cups water
Combine all the ingredients together and mix thoroughly in a sauce pan over low heat. Constantly stir until the mixture becomes really thick (kind of like mashed potatoes). Turn of heat and transfer mixture into a flat surface to cool. Knead and mold into shape. Set them aside to dry. These babies were left overnight on a baking sheet. They were also left out accidentally for a few hours inside the car!
I also created little sachets made of parchment paper to hold each ornament and attached a basic label sticker.
Wednesday, December 11, 2013
DIY Christmas Light Garland
Next to Christmas songs and carols nothing else could set the mood for the holiday season than the delightful glow brought about by the twinkling of Christmas lights. Make a garland of Christmas lights out of colored paper to hang along a window or decorate around your tree. These lights don’t twinkle but they are definitely just as bright and festive!
Materials
needed:
Colored
board paper
Green art
paper
Scissors
Glue
Black marker
pen
Ribbon or
yarn
Procedure:
Step 1: Fold
and cut board paper in to desired size.
Step 2: Stack
several pieces together and cut into the shape of a “bulb”.
Step 3: Stack
green colored paper and cut into rectangles to make “bulb nozzles” or boquilla.
Step 4: Fold
green paper in half.
Step 5: Glue
the ends of the “nozzle” to attach the “bulb”.
Step 6: With
a black marker draw “bulb wire and filament.
Step 7:
Repeat steps 1-6 to make several pieces of different colors.
Step 8: Thread twirling ribbon through “nozzle” in alternating colors and glue in place.
Tuesday, December 10, 2013
DIY Wooden Block Village
Remember the palo tsina crates we had made a few months ago? Here's what I made out of the scrap pieces of wood. Check out Yahoo! She.
Use Photos for DIY Christmas Decor
In some way or another I use personal photos to decorate for the holidays. Check them out at Yahoo! She.
Wednesday, December 4, 2013
DIY Plastic Bottle Christmas Lights
Here's another green way to brighten up the Christmas season! Check out Yahoo! She for instructions.
Monday, December 2, 2013
DIY Hanging Christmas Tree
If not having enough floor space for a Christmas tree is a problem you might want to consider creating one that you can hang. Use ordinary wire, such as the ones used to make a clothesline or “sampayan”, and bend zigzag patterns to resemble a tree.
Make sure that your wire has a large enough gauge to be strong and
stiff enough to hold its weight and whatever you want to hang on it. Suspend it
on a door, by a window or any available wall space and use clothes pins to attach
Christmas cards. You may also hang
or attach small-sized envelopes or sachets containing little goodies and
surprises. Label or number the envelopes so your hanging tree will also double
as an Advent calendar.
Materials
needed:
Wire
Wire cutter
Pliers
Utility
gloves
Step 1: Use
pliers to make a small loop on one end of the wire
Step 2: Make
a larger loop, about the same size of a clothes hanger
Step 3: Make successive zigzag bends of increasing width so that the outline resembles a triangle
Step 4: Round
off the end of the wire by make another small loop
Step 5: Hang and adorn
Sunday, December 1, 2013
DIY Star Twig Ornament
This project reminds me of the straw parols I made last year. The steps are essentially the same but you might want to check Yahoo!She for the directions.
Twenty four day to go till Christmas! Yipeee!!!
Monday, December 24, 2012
Sunday, December 23, 2012
Wednesday, December 19, 2012
Hand Sewn Bear Applique Pillow Case
Our toddler has been using his dad's old pillow case. This pillow case had not been used for quite some time and was pleasantly rediscovered about 7 months ago under a pile of beddings. It is actually an eleven-year old Ralph Lauren polo bear pillow case which I gave hubby (then boyfriend) as a pasalubong. I showed it to Alonzo and he instantly asked me to let him use it. The thing is our little guy has become so attached to it that he tends to get melt downs whenever it has to get washed!
And because I couldn't think of what to get our little guy for Christmas (too many toys and clothes already!) I thought of making him a bear pillow case so that he could use it alternately with the one that he's using.
I scoured fabric stores in Glorrietta and Greenbelt for any cotton fabric with a bear print (I wouldn't dream of going to Divi this time of the year). To my dismay I couldn't find any that I liked. I almost considered getting the Christmas-sy bear printed fabric at Fanbi's until I remembered that we have several un-used, white pillow cases at home. I decided to just use that and create a bear applique over it.
| would you believe I almost got this for P350 per yard??!!! |
While I was still pregnant we took a trip to Ilocos and bought several Abel beddings and pillow cases for Alonzo. The blankets are used often but the pillow cases have never been used because both ends of the pillow case are left open, causing our pillows to flatten out.
I also have a lot of felt fabric left over from my previous projects so this really didn't cost me a thing. Working with felt fabric surely saved me a lot of time. It doesn't fray and therefore it doesn't require hemming. If you are working on a tight schedule and running out of time you'll surely consider it a Godsend.
This project was finished just in time (only just a few minutes ago, actually!). I have been working on an impossible schedule at work lately and the family is set to be away for a pre-Christmas vacation at the beach (yipee!!!) in a few hours. So I really had to get it all done before leaving.
Hope the little guy likes his new pillow case just as much as his old one.
Cheap Gift Wrapping Ideas
In case you haven't finished wrapping all your Christmas presents this year here are a few quick and inexpensive ideas.
You probably know by now how I love using pattern paper (as seen here and here, too!). Come on, they sell for P19.00 for a pack of 5 sheeets! How can I not love that??? What I also love is the countless ways you could decorate with it.
If you are into the neon trend attach brightly colored label stickers (available at office supply stores) all over and tie with neon colored yarn.
Another material that I love to wrap with is papel de hapon.
Although I often like to add accents or additional frills such as mini paper parasols, twigs and even balloons, with its bold and bright colors a simple jute string bow could be enough to make your present stand out.
Now, what could be easier than using a brown paper bag?
I remember how I painted several dozens of these years ago when my sister asked me to decorate them for a project their school organization was putting together. If I had the time I probably would consider doing that again but as of the moment a simple string made of straw and a Post-it note does the job perfectly.
How can I not include newspapers, old magazines and phone directory sheets? They're free and it also wouldn't hurt to be a little green this season.
Tuesday, December 18, 2012
Gift Giving Project
One of our ninangs sponsored a Christmas gift-giving and feeding program for 200 indigent children and hubby and I were delegated to do all the shopping and packing.
We knew it wouldn't be easy. Although we've had years of experience doing something like this when my in-laws had a similar project the number of kids, this time, were doubled.
We took advantage of the Bonifacio Day holiday and started shopping for toys at Uniwide. Hubby and I impressed ourselves by having to spend only 50% of the budget! Wohoo!
The next two Sundays were spent for grocery shopping. Now, shopping is one thing but packing everything into individual bags is entirely a different matter!
The living room, dining room and kitchen were used as "stations" for the goodies (canned goods on top of the coffee table, milk and juice products beside the altar, etc.. ).
We would repeatedly go through all the stations carrying at least 5 plastic bags and pick an item for each bag.
Things would have been easier had there been not just hubby and me doing all the packing and a conveyor belt would have been great, too!
Another issue to deal with (aside from our aching backs) was how to arrange and store everything. The completed bags had to be kept separate from the rest and they occupied part of the hallway up to our rooms.
The bags also had to be organized per gender. We intended to color-code the bags but only white ones were available in extra large so in addition, to distinguish the bags containing toys for girls, boys and also gender neutral ones, we had to tie differently colored ribbons around them.
By 8 PM we were only a little more than halfway done. Hubby and I were hungry and exhausted. So we just ordered pizza and also called for reinforcement.
We finally finished around 10PM but had to clean up and move the bags to make the house more "passable" and also to make them easier to load and transfer in the truck.
We weren't there when the toys and bags were distributed to all the kids but the photos showed how happy they were.
Their smiles made it all worth it.
Monday, December 10, 2012
DIY Mini Parol Ornament
Is it just me or does time really go faster around this time of the year? I knew I had a lot of time to get ready for the holidays (Christmas decorating, shopping, gift wrapping, baking, etc..)and had actually set a time frame for all of these activities.
But what wasn't part of my schedule was having to shop and pack gifts and groceries for 200 children. I'll blog about that some other day.
In the mean time, let me share a little Christmas project. Last year I made miniature candy cane ornaments out of drinking straws and because we have a lot of straws around I used them again!
All you'll need are:
Drinking straws
Washi tape or any colored tape
Scissors
Step 1: Cut 5 straws in similar length
Step 2: Attach 2 ends of straw at an angle with tape
Step 3: Continue doing step 2 on all ends until a "star" is formed
Note: Make sure to overlap the straws alternately to make your star more stable.
Step 4: Attach a piece of ribbon or string and hang
Monday, November 12, 2012
Christmas Mode
Hubby set up the Christmas tree and lights a few days ago.
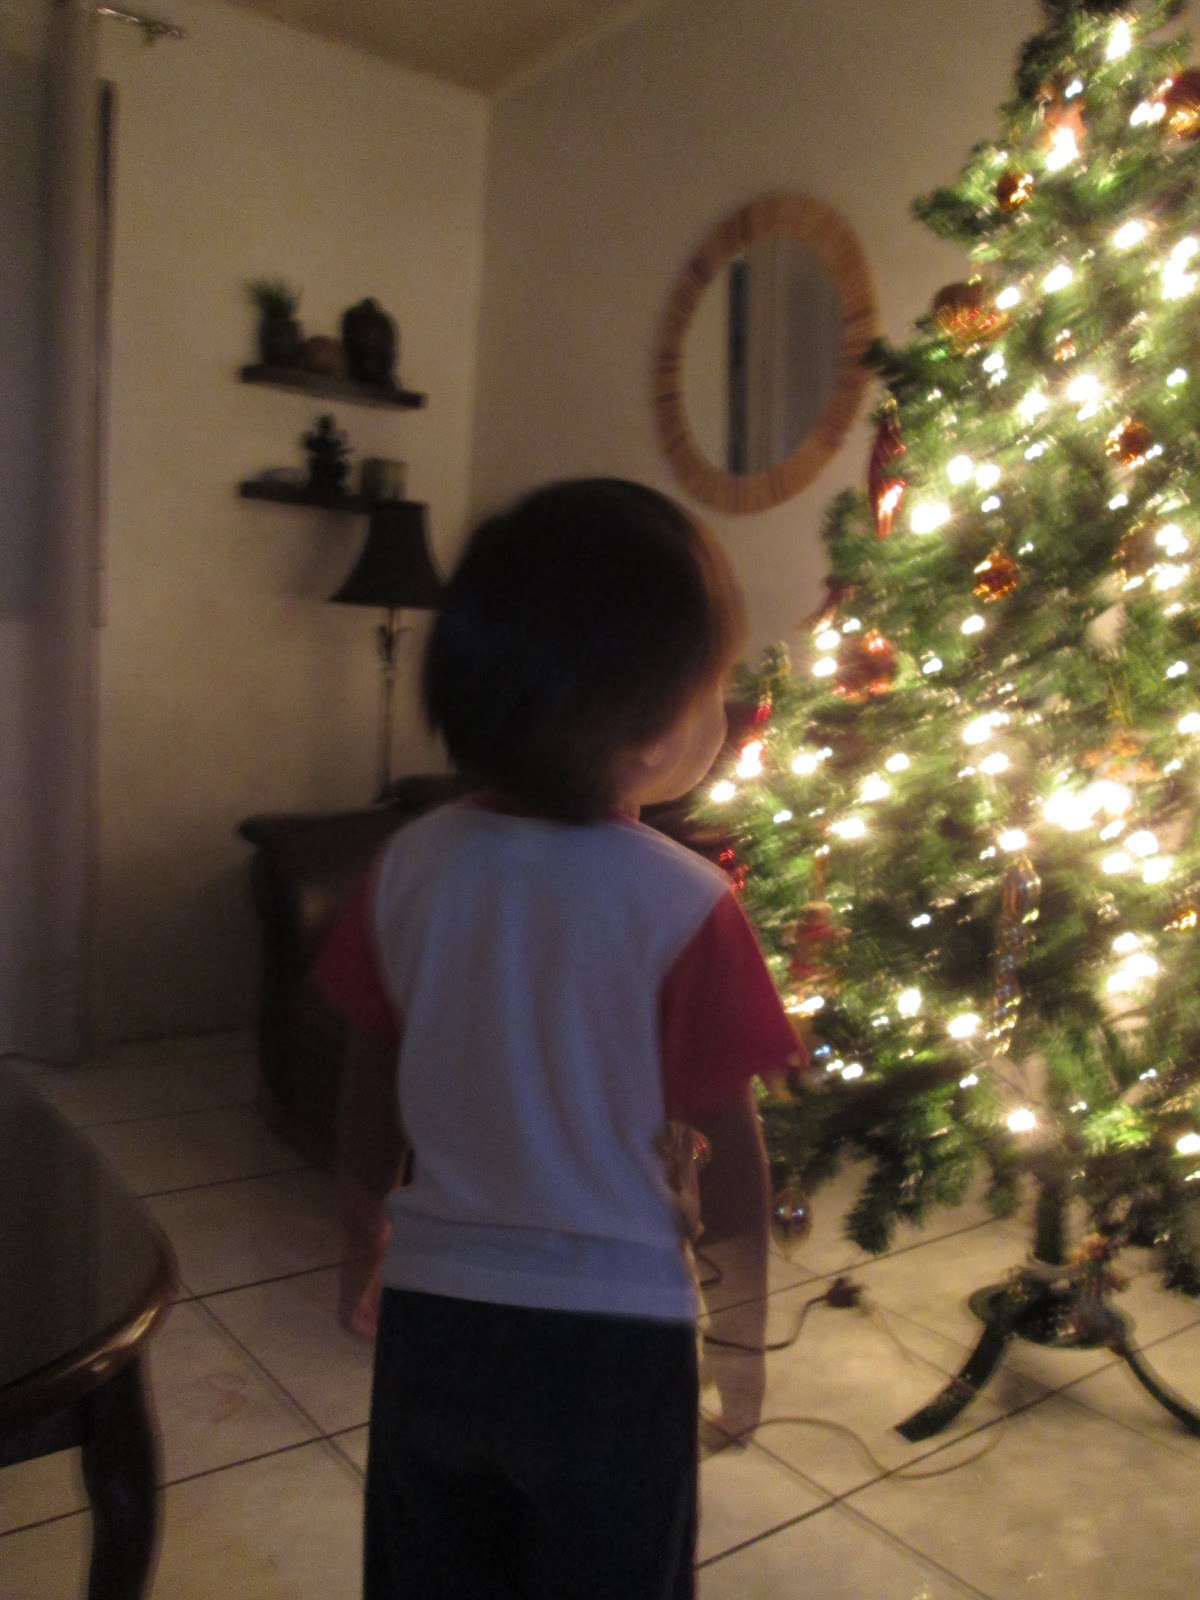
We used to decorate for the holidays right after Halloween when we get right into Christmas mode and are all gung-ho and energized for all the holiday decorating. Things were a little different last year when we didn't seem to be in the mood for setting up the tree. We even came to a point of justifying not having a tree for fear of our toddler toppling over it! Lame, I know! Perhaps all the energy we had was spent on our house painting project? Anyway, hubby seemed to have a surge of energy last week and decided to take advantage of it by setting up the tree as well as the Christmas lights in the garage. He figured procrastination would get us no where and he didn't want the little guy to miss out this year. Hubby started working on it just as soon as Alonzo slept and finished everything to surprise the little guy with the lighted tree in the morning (our son is an early riser and wakes around 5:30 a.m.).
So here is the little guy, marvelling at our tree (a hand-me-down from sister-in-law!). We now spend a few minutes in the early morning just staring at it. Sometimes he asks his Dad to turn on some music -- no, he does not ask for Christmas songs but specifically requests for Chris Daughtry's song, "Home" (don't ask me why but this song is his current fave).
Unfortunately, I still have a long list of things to do to get ready for Christmas! I haven't even started shopping yet -- as in not at all. Oh well, so much for the idea of giving out all hand-made gifts this year...
Subscribe to:
Posts (Atom)